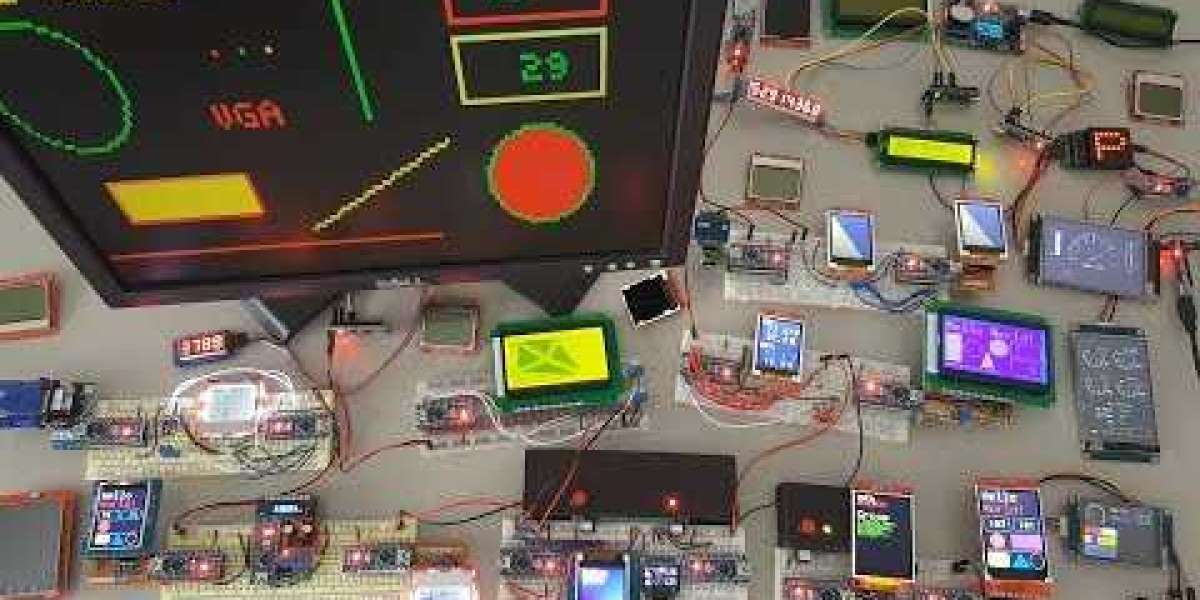
Hello everyone,The esti 7789 TFT small tft screen is going to be today's topic of conversation. It only has a 1. 3 inch diagonal measurement. It has a high density of 220 pixels per inch and 240 pixels across and down.
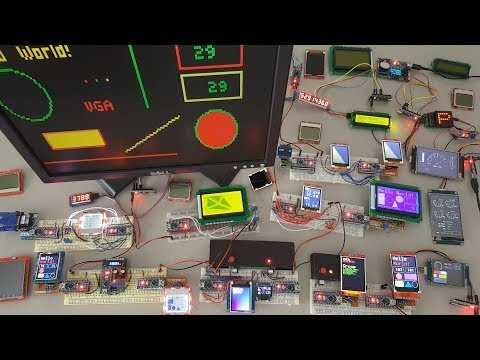
This number represents the small tft display's resolution. The viewing is possible from any angle thanks to this feature. In addition to that, it possesses an SPI interface in addition to a user-friendly small tft display driver. It is compatible with any and all types of microcontrollers as well as microcomputers.
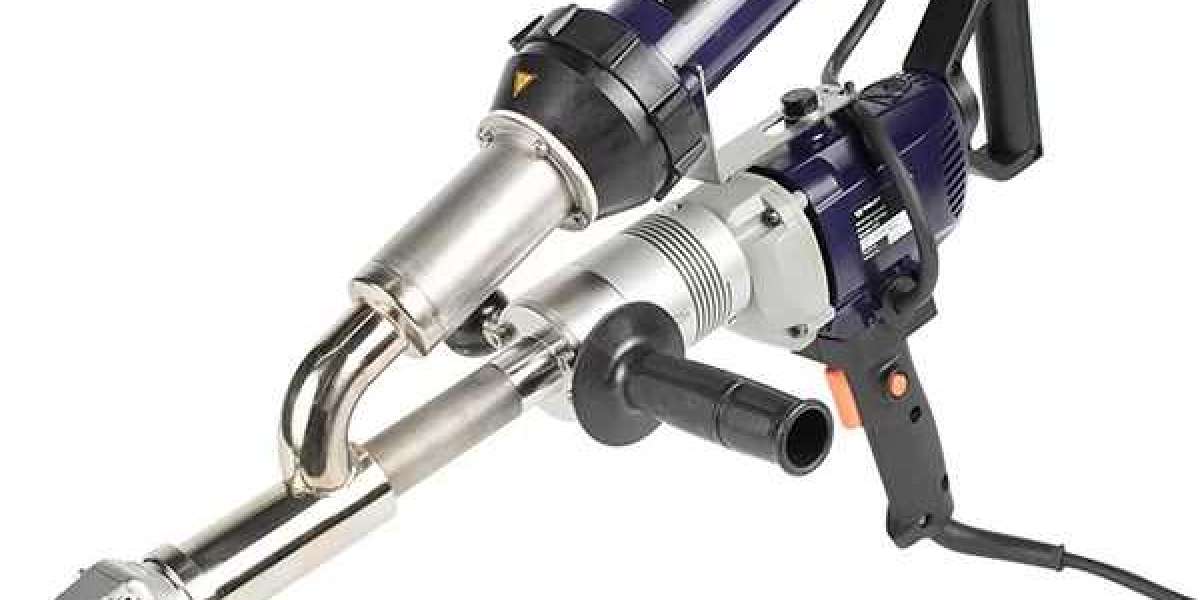
Due to the fact that the small tft utilizes 16-bit pixels, the colors appear to be very vibrant. The TFT driver ST7 789 is extremely comparable to the widely used ST7 735, which is supported exceptionally well by the Arduino library. Additionally, the small tft screen features an internal voltage regulator, allowing it to be powered by either 3.3 or 5 volts of electricity. Now, I'll demonstrate a straightforward test by transferring some pictures to the small tft screen. I am utilizing an Arduino ninoarduino nano, small tft screen which is a circuit board that is compact, comprehensive, and friendly to test boards. Its functionality is comparable to that of the Arduino Duemilanove, but it comes in a different package and uses a mini-B USB cable rather than the standard USB cable. Additionally, it does not have a DC power socket.
Right now I'm attaching the display to the Arduino board using the pin configuration that you see here. The next step is to upload the code picture once you have successfully connected the small tft display to Arduino. In order to get the software to function properly with Arduino, I will use a program called cool term to upload the picture to Arduino. There is a sketch that needs to be uploaded to Arduino. With the help of this sketch, we will be able to use a serial terminal to upload bitmaps to Arduino.
Because your sketch makes use of the Arduino ST7 789 quick library and the adafruit gfx library, you will need to install these libraries in the Arduino software after you have uploaded the sketch. I will now open the application known as the serial terminal, which gives us the ability to upload bitmaps via the serial terminal. However, before we can actually upload any bitmaps, we need to configure the serial port and baud rate of the application. The port that connects Arduino to the computer will now be set to comm five. After I've finished configuring everything I need to press, I'll switch the connection's baud rate to 115200, and I'll set the viewing mode to ASCII. Now that everything is set up, we can upload the bitmap image to Arduino; however, before we do that, let's look at the requirements for bitmaps. The image file must be a bitmap image, and the width and height of the bitmap image must both be 240 pixels. However, the width and height requirements are not the most important thing. Now all I have to do is drop the image file into the cool term application using the drag-and-drop method.
The picture was able to be uploaded without any problems, and the angle is going to work out perfectly for you.
In point of fact, the depth can be achieved with any file type; JPEG is sufficient. It will allow you to enter on your own, so before you do so, check to see that there are JPEG files in the primary directory of this demonstration. It will check your root directory and the files it finds, and it will actually small tft display it. This enables you to freely put your own images on it and gives you more customization options. They ought to also follow Bodmer's lead as an example. For instance, I softly set them from TFT ESB, so I believe it is 480 by 320 or 360 or something similar. This is the incorrect pixel size, and the incorrect resolution of this particular screen is 320 by 240, so my images are 320 by 240. The representation of 240 is produced. Do not attempt to make the JPEG image larger on it.
You will only receive a very large portion that has been magnified. From what I understand, the JPEG decoration software will not automatically zoom it to fit on your screen. If zooming is an option, then it's not very intelligent. I have not really gone into great depth studying it. Because it will put some computing power to the test, you already know, I have my doubts about what the world will be. Even on a small microcontroller, it's possible that you won't get a powerful and amazing ESP 32.
Please leave a comment even if you think it's wrong. It is able to grow. Although it moves very quickly, I believe that I am correct. If you go to my website, you will see the link at the top of the screen, and the D link will be in the description at the bottom of the page. You will find the software, the sketch, and the picture folder in which I spent a significant amount of time writing; I am here to demonstrate the appropriate resolution. Simply insert your SD card into your device.
Let's take a look at the demo that's currently being small tfted on my screen, shall we? It is possible for something to emerge from the slot that causes fat inversion. Let's zoom in. What makes it so potent? A photograph was taken of the incredible-looking tiger asteroid that was captured outside of the International Space Station.
What will they eat without them, you adorable kitten? What will they eat without them? First, let's investigate the upper and lower portions of the touch screen. There is no requirement for us to check out the lower part of the binary touch screen.
After that, I'll open the JPEG file that's stored on the ESB photo SD card. Even though I don't plan on making use of it, I'll go ahead and open it. What exactly is this? It is necessary for you to load some pictures onto your SD card. You will find these images if you check them out, so you need to navigate to the Library folder that was just small tft and select the JPEG decoder. From there, you will need to forward the virus folder you are looking for to the name of the location where you will find all of the images that are used by this program. They need to be those exact images, and their names need to be exactly the same as when they meet because we will call them and try to them from your SD card using these exact names, so therefore, you will notice that the majority of the descriptions found at the top are from Bodnar, along with some of my original or modified additional titles. Simply scanning the root directory of your SD card and setting any file that it finds is all that my software does.